Monday, December 27, 2010

First ever Revamped giveaway!!!!


First of all, I hope you all had happy holidays with your family & friends. Mine was great, & my kids got totally spoiled, like they always do.
So to get an early start on the new year & all my plans for Revamped, I'm holding my first ever giveaway contest! I realized that if I plan on using my blog for advertisement and/or sales of my products, I'm going to need some more followers! So here's the rules;
Tell as many people that you think would enjoy reading this blog as possible to sign up as a follower. They can't sign up to follow anonymously, I have to be able to verify that they've actually become a follower. Then have them leave me a comment on this post. For each person that signs up as a follower & leaves a comment that says you referred them, you get one entry, up to as many as you can have sign up! The person to refer the most new followers will receive this Revamped wine themed serving tray & set of magnets made of re-used wine corks from a couple Central Coast wineries! I wish I could send the actual wine, but this will have to be the next best thing. ; )


Here's a little better shot of the serving tray. It's made of bamboo & finished in a black satin enamel. I used various labels from a few of Pomar Junction's varietals. Their tasting room has a beautiful setting if you ever have a chance to visit. The white card in the upper right hand corner of the tray is not attached, it is holding the wine cork magnets & is just there for the picture. The trays dimensions are 20"x 14", & it will be sealed in a wipe-able liquid resistant clear satin finish.

The wine cork magnets are mounted on ceramic block magnets (not the cheap "magnetic tape" that only holds 1 sheet of paper per magnet!) This is an example of the labels that may be included on your magnets, here I chose Tolo & Chronic Cellars two of my favorite! I might up it to a set of six for the winner.

So come on ladies, spread the love! If you each get me one new "follower" that will double my readers, not hard to do at all! The more referrals you give the more chances for this wine themed package to be yours! To make it extra easy, you can go to the "Invite YourFriends" link on the right hand side of this page - just under the followers pics.

You have until 1:00 am New Year's Day - now get started!


Saturday, December 18, 2010

What the ____ Goodwill?!........And all the other thrift stores on the Central Coast!

     Is it just me, or does anyone else notice how ridiculous goodwill is with their pricing? Actually, I should say Central Coast area California Goodwill's (and all other area thrift shops for that matter). I read tons of other blogs on a daily basis & it seems like I'm always seeing posts where you ladies are scoring $5.00 wing back chairs or side tables for $2.00. These prices are unheard of at Paso Robles second hand stores. I realize I live in an area with a higher cost of living, but seriously? Whoever does the pricing at our Goodwill stores I think tends to forget that these items are used (and in most cases, in pretty crappy condition). I'm not a total cheapskate but I just think it's pretty stupid to pay the same price for something at a thrift store for what you might find a similar item for on an online sale. Case in point, I was shopping at a Paso thrift store the other day & I noticed a used glass lemon curd jar that I KNOW came from Trader Joe's that had a $2.00 price tag on it! Thats about a dollar less than what it cost to buy it full of the lemon curd!!! Granted, it had a cool hexagonal shape & I've even saved mine to refill with homemade sugar scrubs to re-gift but this is an item that probably should've gone in the recycling! Who are you overzealous thrift shop pricing employees?

     I also noticed these two cute French Provincial nightstands at Goodwill the other day. The one on the left had a price tag of $19.99 & the one on the right was on "sale" for 11.99. I pointed out to an employee that they were practically the same thing & asked if I could get the $11.99 price on ea. They said that the price was based on how long the item had been there. Which sucked for me, because I actually liked the one on the left a lot better.


    After she walked away I quietly took this opportunity to point out to my daughter that "These people don't low what they're talking about". The one on the left was made entirely of particle board & laminate. The one on the right was solid wood with dovetailed drawer joints. So for $11.99 (still too high in my opinion) I took it home. Still deciding if this will be available for sale or whether it's going in my daughter's room - she's pulling for the 2nd option.

     Our thrift shops also sell sweaters for $5.00-$7.00. I don't personally buy any of my clothes second hand but I'm pretty sure I can go to Ross any day of the week & buy a brand new one for that price! So to that I say, "What the ____ Goodwill?" YOU ARE NOT A NEW RETAIL STORE, YOU ARE NOT AN ANTIQUES STORE, YOU ARE NOT A VINTAGE BOUTIQUE! Price your things accordingly!

    What do you guys think? This is ridiculous, right?

Sunday, December 12, 2010

Distressed Barstools - wish I could keep them!


If you've been following my blog you've probably seen the last post I did on the living room table set for Caitlin & Jeremy. They also asked me to refinish their bar stools. Like their tables, these too were handed down to them from Caitlin's mom. Good thing she has good taste! Although the finishes on these pieces were dated they had good lines and were built well (the most important things to look for). So these bar stools started out as "rustic pine" furniture that I'm sure we all remember from 5-10 years ago. Caitlin & Jeremy's new dining set is done in a rubbed black finish. Caitlin gave me the liberty to do whatever I thought would look best to these. I wanted it to tie in with the table but not match it exactly. Here's how they look now.

Because I didn't want everything too matchy I decided to go with a little more distressing on the bar stools as compared to the table. After spraying them with several coats of Rustoleum's Indoor/Outdoor black in a satin finish, I hit the edges with a palm sander & then added a few more "distressed" spots so that it didn't look too factory finished.

After the distressing was done I applied a brown glaze (Valspar's Mocha-available at Lowes) with a sponge brush then after about 30min, wiped the glaze off with a barely damp cloth. The nailhead details were too hard to tape off before painting so I just sprayed over them then went back & hand sanded certain areas which ended up bringing through the copper metal. Both stools got two coats of oil based polyurethane in a satin finish (although it looks a lot shinier in the pics). I forgot to mention that I had my boyfriend remove about 4 in. from the legs of the stools to accommodate the lower counter height of their new kitchen.

Caitlin loved the stools & her mom (who they first belonged to) said she couldn't believe they were the same chairs. I have to say, they do go perfectly with the rest of the furniture in their great room. The dark walnut stain I did on their tables ties in perfectly without being so matched that it looks like they hit up a JC Penney catalog sale. Im SO jealous of how quickly their new house came together, they moved in a month ago & everything looks perfect already! Glad I can say I had a hand in it!

Im linking these up to a few other blogs, you can check out some great projects at the following parties;
UndertheTableandDreamingThe Shabby Nest
The DIY Show OffMaking

Tuesday, December 7, 2010

Caitlin & Jeremy's living room tables


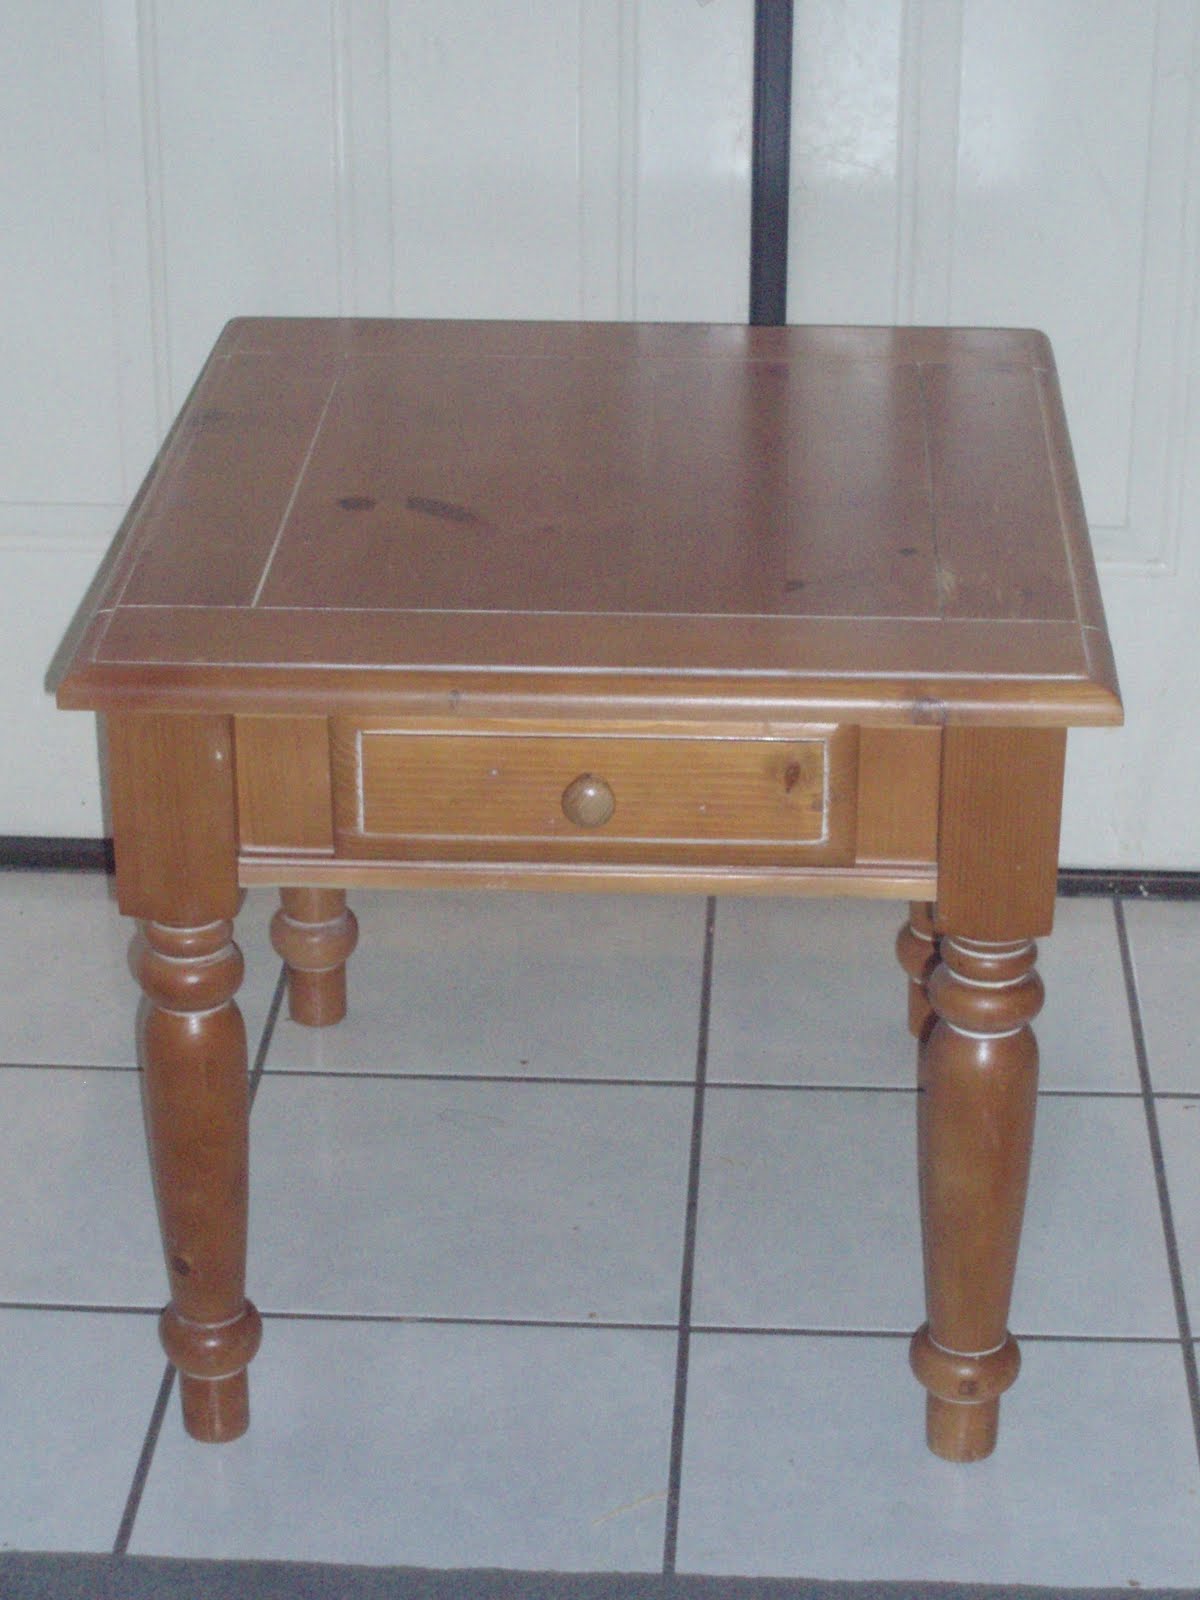
You might recognize this before picture from a post I did on a side table I refinished for my sister's guest room a while back. These two tables are actually the remaining pieces to that exact set. I did take "before" pics of them but somehow they're M.I.A. . Anyway, Caitlin's mom had given her these tables & she had used them in her living room this way for several years. Recently Caitlin & her husband Jeremy were able to buy their first house (Congratulations!) & some new furniture to go along with it. Although they got some really nice new pieces they didn't have the budget to buy all new furniture (who does?). So Caitlin asked me to help her with the dated country style set that went with this table.

This is what I came up with. After sanding down to the bare pine I used Varethane's Dark Walnut gel stain which was perfect for covering the rest of the white paint that had been wiped into all the crevices - which I didn't think would EVER come out! I also picked up a few knobs to replace the wood ones at Re-Store then hit them with my favorite Krylon spray paint in Oil Rubbed Bronze.
After the stain dried I decided to try a new sealer I had read about on Miss Mustard Seed's blog. Wipe on Poly - it supposedly gives the look of an oiled hand rubbed finish. What actually happened was as I was wiping it on it started lightening the stain & even removed enough that it stained my hand! Im sure this wasn't supposed to be the outcome but I followed directions exactly as they were printed on the side of the can so I don't know where I went wrong. I have to say, I was pretty unimpressed with this product. After allowing that to dry I re-sanded then re-stained & ended up sealing with a few coats of spray Spar-Urethane in a satin finish. I wish it coated a little thicker but overall I think they came out pretty nice. Just remember if you're using the Spar-Urethane on a project to sand or rub with a fine steel wool in between coats.

Here's the coffee table in Caitlin & Jeremy's living room, along with some of the new furniture they bought. I didn't have the best lighting for these shots & I took them kind of quickly but all the furniture looks really nice together in person. Not to mention these pics were taken as they were still unpacking but they have a beautiful house & every time I stopped by to go over options for the tables with Caitlin it looked better & better. Caitlin & Jeremy, you guys were awesome to work with & thank you for giving me "creative control" with your tables. I'm glad I could help make your new house your home.

P.S. - I'm currently finishing up some bar stools for Caitlin & Jeremy's breakfast bar, They'll sit right behind where their couch is, facing the opposite way. You can see the kitchen in the background of the last picture. I should have those pics up in the next couple days so, stay posted!

I'm linking this project up to the following link parties;


The DIY Show OffMy Backyard EdenThe Shabby Nest

Thursday, December 2, 2010

Im Back!

So, after what seems like FOREVER I finally got my act together & got the new monitor & adapters I need to use my computer. In the meantime I've been working on lots of different projects (lots of small, a few good sized & one HUGE project) that are all coming together. I finished up a set of living room tables this week & am currently working on a couple bar stools for the same client. I also refinished a beautiful antique harvest trestle table for my good friends and will be working on finishing their chairs over the weekend. You can expect to see pictures of the finished products within the next few days. Meanwhile I'm trying to stay focused on the big project that I've been super busy with ( I'll be doing a separate post on that soon). And as a kind of random request, I'm looking for several end/side tables or nightstands. They don't need to match. If anyone has one (or more) they'd like to get rid of let me know. I can pick up locally. Back to work for now, be on the lookout for some "after" pics in the next couple days.

Friday, October 8, 2010

$9.00 granite countertop


This picture is equally as ugly as it is bad quality. This is a "before" shot of one of 2 motor home sized bathrooms in my house. Notice the toilet is missing (like the bathroom didn't have enough problems as it was-we had to throw tree roots into the equation). Actually, I just noticed that it's right there, in the bathtub, creating the need for about 5 gal. of bleach! Anyway, this is what our hideous bathrooms looked like when we bought the house, that's right, they were identical. Because in the 80's this looked so cool that you would've wanted two of them.


This is what it looks like now, only about part way through our lipstick on the pig job. I refinished the cabinet with the same "poor man's wood grain" as I did on my garage door. Painted the walls with some leftover paint my Dad's girlfriend had (except for that one patch behind the toilet where the drywall got jacked up). And after a toilet mishap- aka my boyfriend cracked our old one somewhere during the tree root in pipes saga-we bought a new Jacuzzi toilet with the gift card my friend got me for my birthday (thanks Josh G!). Probably the only Jacuzzi I will ever own! The old faucet was replaced with an oil rubbed bronze one I got for $15 - sink included!-on Craigslist. And topped off with a new Better Homes and Gardens mirror from Wal-Mart. BUT ON TO THE GRANITE-I found these 9 granite tiles at my local Habitat for Humanity Re-Store Luckily for me my boyfriend is pretty talented too, I knew he could slap these tiles on in an afternoon & change the whole look of our guest bathroom! He did the smallest grout joint he could then filled in the gaps with a black epoxy grout. Because he and his brother do the occasional tile side job, everything else he used was left over from other jobs. He sealed it with a spray & wipe stone sealer & used a clear caulking around the edge of the sink. It's not what I would've chose if we were paying full price (which by the way is $9.00/sq. ft. at Lowe's!) but it looks a heck of a lot better than that truck stop motel bathroom knockoff!!

Wednesday, October 6, 2010

Color Dilemma - Help me Decide!

First of all, I want to say sorry for my recent blog neglect. September was an extremely busy month for me! A friend & co-worker of mine had her 2yr old son in the hospital for most of the month-obviously, she was there with him every day. While she was gone I was able to fill in her position at work for her, so she wasn't so behind in things when she came back. For those of you that don't know I'm a stay at home mom so taking over her full time position was a big change for me. Although it resulted in me getting a make my own hours position & kept the whole department from falling behind, things pretty much came to a standstill home.

In the meantime, we've been making some pretty big changes in our front yard. For anyone whose seen my house, you'll remember that there was nothing but weeds & a dried up crappy lawn when we bought the place. So far we've taken the lawn out (the dirt was so compacted that our friend had a hard time tearing it up with his tractor!), put in a large Mediterranean/drought tolerant flowerbed, added a "dry creek bed" with river rock, hacked back our overgrown mulberry tree, & added a couple herb gardens.

So what I need help with is deciding what color I should refinish the two huge urns I got at Lowe's (these were originally $160 ea. I got two of them on clearance for $60 total!) Part of the reason I got them so cheap was that one of them had some damage to it. The finish was flaking off around the top (these are made of lightweight fiberglass/plastic material). So I plan on scrubbing off any loose flakes & using the spray primer made for plastic then putting a regular spray paint over the top of that. If any of you have done a similar project for something that is an outdoor item I'd appreciate your input.

Here's a picture of the vase/urn with the damaged top. You can see how the shiny finish is flaking off & the dull color underneath is showing through.

This is a bad shot but it shows the fountain in my herb garden that matches it almost exactly. The reason I want to change the color is that I don't think the burgundy looks good against the terra-cotta color of our house. There's too much brown going on in our front yard & we need to break it up with some color. What I need you to take into consideration is, whichever color I paint the new urns has to look ok with the fountain (I think both do, I'm just not sure if it's going to start to to look too cluttered with the different finishes).

These are the two colors I'm trying to decide between, I think either one of these will go okay with the house color.

I would add a brown glaze over the top of whichever color I went with so it would age the look of the finish a little more, like this one below.

Here's an example of the green on an actual urn, I have spray paints very close to both of these colors (the yellow is just a tiny bit lighter).

So what do you think? I need all the input I can get on this! Keep in mind that my house is a terra cotta color with a walnut stain on my garage & front doors as seen in my faux wood doors posting here. These two huge vases will sit on either side of my garage door & will soon have some nice big Mediterranean style lanterns installed above them to top them off. I think we're finally getting a break from this little rainstorm we just had so let me hear your ideas asap so I can paint these while we still have decent weather!

One last thing to consider is that I do plan on eventually planting something in these, probably something that will hang down over the top of the urn ( I'm thinking Ivy Geranium or something like that to stick with the Mediterranean look). They're so tall that I can't plant anything upright because it would hit the lights we're installing above. With the plants draping over the sides it will maybe downplay some of the color of the urn.

I'll be waiting for your comments!