
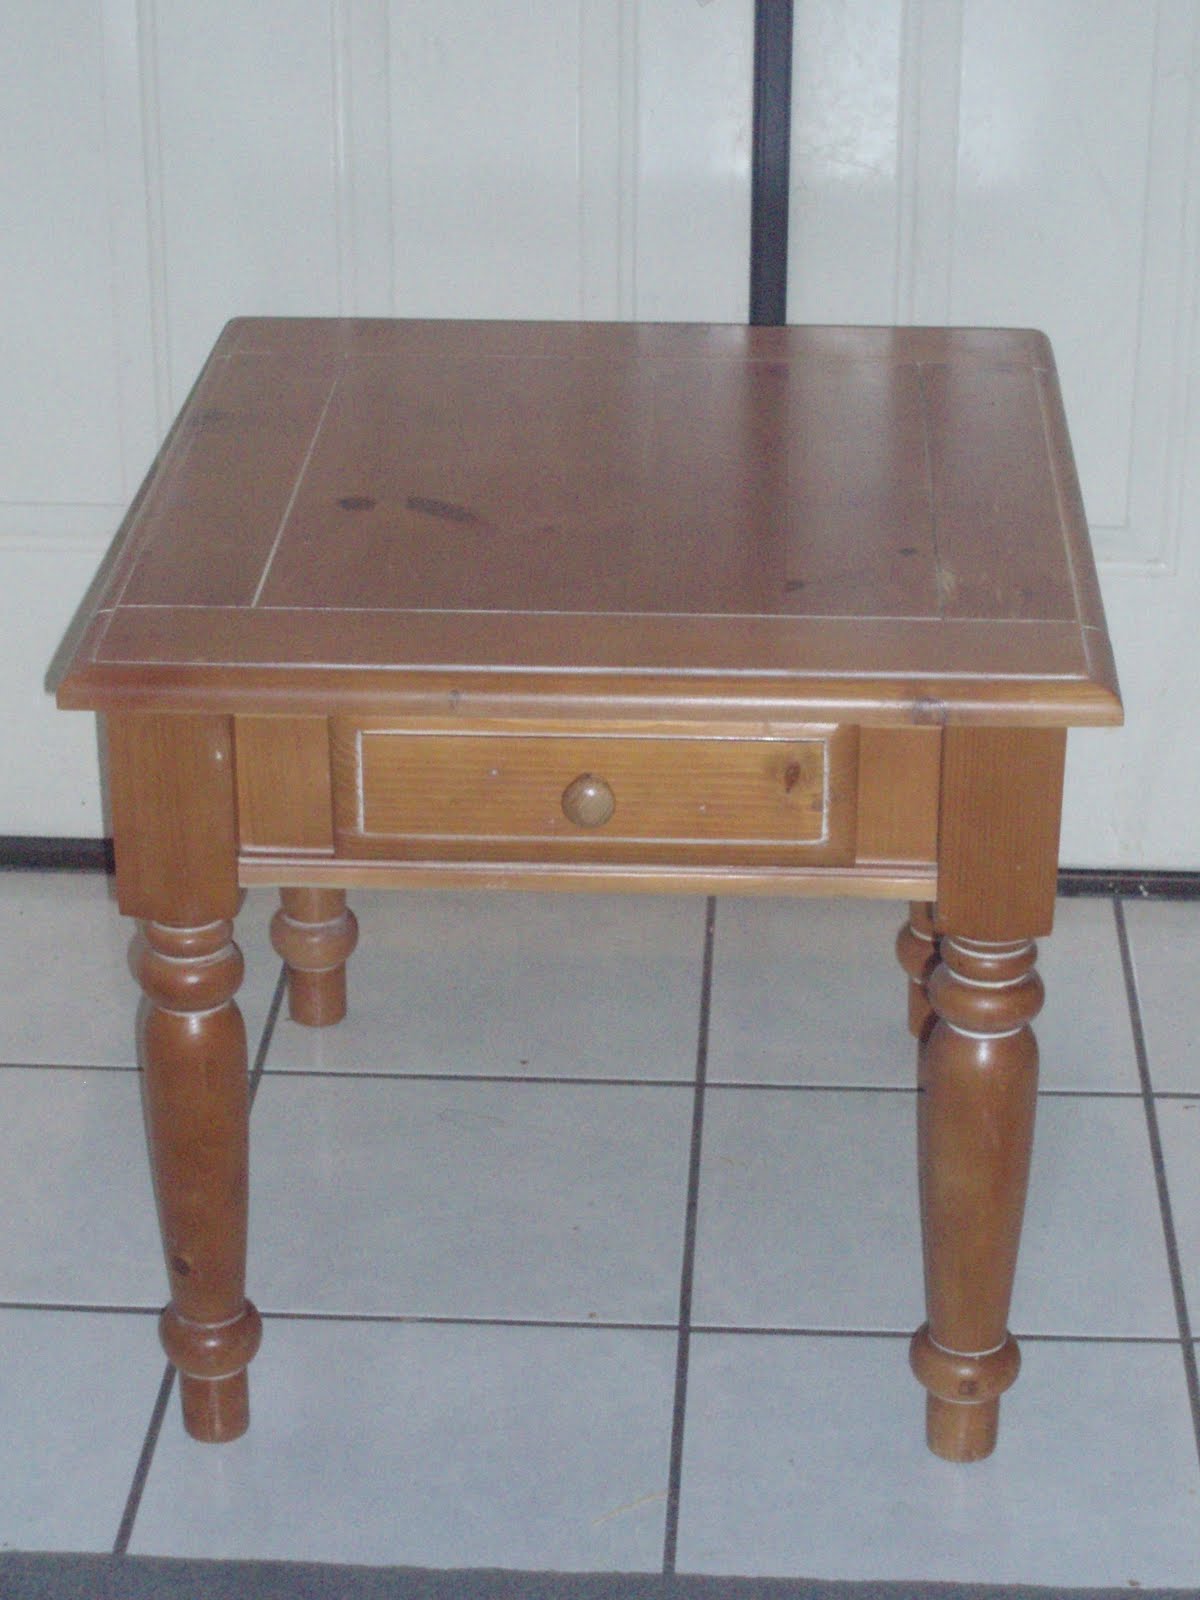
You might recognize this before picture from a post I did on a side table I refinished for my sister's guest room a while back. These two tables are actually the remaining pieces to that exact set. I did take "before" pics of them but somehow they're M.I.A. . Anyway, Caitlin's mom had given her these tables & she had used them in her living room this way for several years. Recently Caitlin & her husband Jeremy were able to buy their first house (Congratulations!) & some new furniture to go along with it. Although they got some really nice new pieces they didn't have the budget to buy all new furniture (who does?). So Caitlin asked me to help her with the dated country style set that went with this table.

This is what I came up with. After sanding down to the bare pine I used Varethane's Dark Walnut gel stain which was perfect for covering the rest of the white paint that had been wiped into all the crevices - which I didn't think would EVER come out! I also picked up a few knobs to replace the wood ones at Re-Store then hit them with my favorite Krylon spray paint in Oil Rubbed Bronze.
 After the stain dried I decided to try a new sealer I had read about on Miss Mustard Seed's blog. Wipe on Poly - it supposedly gives the look of an oiled hand rubbed finish. What actually happened was as I was wiping it on it started lightening the stain & even removed enough that it stained my hand! Im sure this wasn't supposed to be the outcome but I followed directions exactly as they were printed on the side of the can so I don't know where I went wrong. I have to say, I was pretty unimpressed with this product. After allowing that to dry I re-sanded then re-stained & ended up sealing with a few coats of spray Spar-Urethane in a satin finish. I wish it coated a little thicker but overall I think they came out pretty nice. Just remember if you're using the Spar-Urethane on a project to sand or rub with a fine steel wool in between coats.
Here's the coffee table in Caitlin & Jeremy's living room, along with some of the new furniture they bought. I didn't have the best lighting for these shots & I took them kind of quickly but all the furniture looks really nice together in person. Not to mention these pics were taken as they were still unpacking but they have a beautiful house & every time I stopped by to go over options for the tables with Caitlin it looked better & better. Caitlin & Jeremy, you guys were awesome to work with & thank you for giving me "creative control" with your tables. I'm glad I could help make your new house your home.
P.S. - I'm currently finishing up some bar stools for Caitlin & Jeremy's breakfast bar, They'll sit right behind where their couch is, facing the opposite way. You can see the kitchen in the background of the last picture. I should have those pics up in the next couple days so, stay posted!


That dark walnut stain is so pretty! They look better than brand new!
ReplyDeleteI love the dark stain...makes it look sort of Moroccan, which is my favorite style.
ReplyDeleteGreat job! Glad you could save it after the mishap with the sealer!
Thanks for stopping by my blog, too.
the dark walnut is SO much better! it was pretty outdated before! i like the wipe-on poly but i do find on stained pieces that i have to let the stain dry for a couple days before i can apply it. it has to be really dry.
ReplyDeleteGorgeous! Love the walnut finish-it really updates the look. Would you mind sharing this on my new linky party today?
ReplyDeleteGood read. Making repairs to existing furniture can be both fun and save you money. Thanks for sharing your successes.
ReplyDelete