

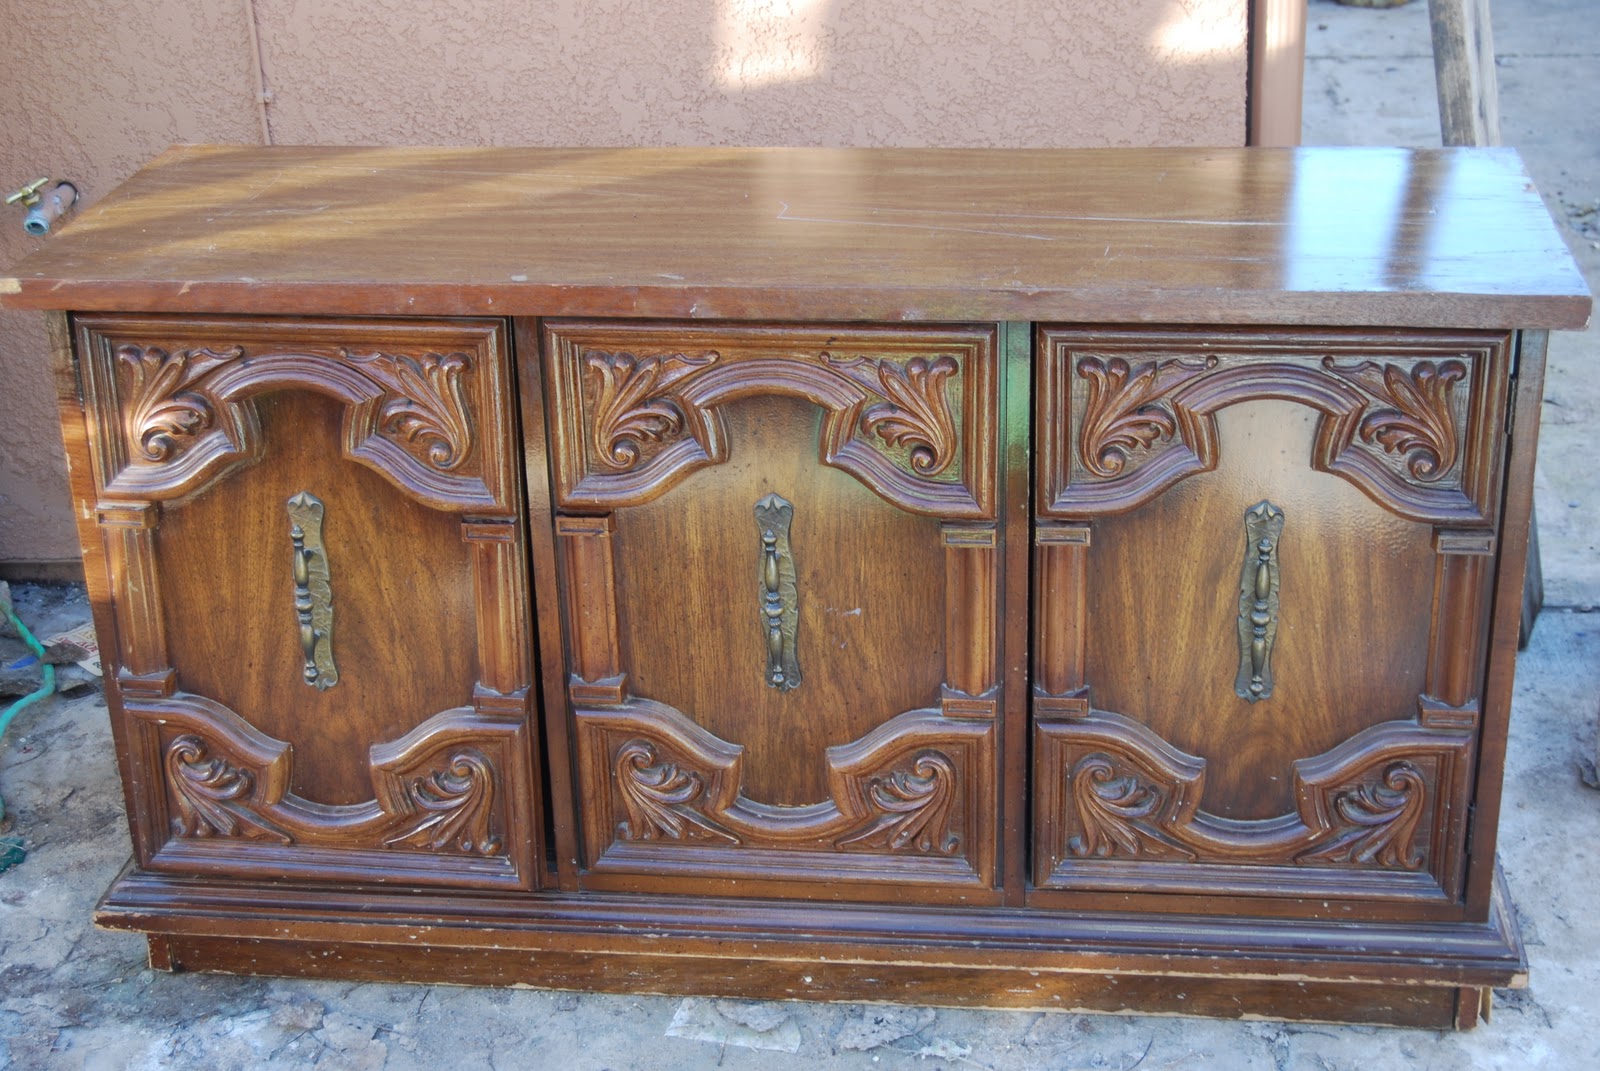
I picked up this buffet as part of a two piece hutch set on Craigslist. I decided that I could make two more interesting pieces by separating them. It obviously needed some serious painting but I wasn't sure exactly what I wanted to do so I Googled "painted buffet" to see if I could get some inspiration. Of everything that came up I narrowed it down to these pieces.

I love the simple details on this antique buffet that the people over at Dancing Through Paris actually had shipped over from Paris along with a container full of other awesome finds from their buying trip. I wish!

I like the rough look of the layers of paint showing through in different areas, it looks like it's been passed down through generations, getting a different look from each new owner.

This buffet is from the same source as the one before, but has a less complex finish. This is closer to what I was looking to do with mine. Antique looking but not overdone.

I hate not being able to give credit but I cant find the source for this buffet / bakers cabinet. This has more of a mass produced look to me but still has the basic color & finish I was going for just with a little less detail. It also has the same top that I liked (the piece I had was damaged on top so I knew I was going to need to replace it).

Here's what mine looks like "after", not the greatest lighting in this shot but you get the general idea. I started with Krylon's paint for plastic in Dove White, and applied probably about 4 light coats for good coverage. Next I blended two colors from interior latex paints I had on hand, one was a dark cream & the other a very light taupe. I sparsely dry brushed one layer of each over the entire buffet. Once that had dried I blended together my Valspar glazes in Mocha (about 60%) & Asphaltum (about 40%) so that I had a dark chocolate color glaze. I used a brush to work it into all the crevices then immediately removed it with a damp paper towel. After the glaze had dried I sealed it with Minwax's Polycrylic for durability. The door handles are original, they were an unusual size so it would've been tough to find a decent replacement. Plus, I liked the bulkiness of them, they looked like they could be heavy forged iron, except they were brass. So I gave them each a couple shots of flat black spray paint & finished with a flat sealer.


Before & after shot of the doors, what a difference, huh? I forgot to mention that I also went over all the raised areas & edges with a 60 grit sandpaper before glazing.

This is the new top my boyfriend put on, we just picked up a piece of pine shelving at Lowe's. He screwed in in place then I finished it with Varethane gel stain in walnut & sealed it with the Minwax Polycrylic.
Just a last side by side before & after

This looks AMAZING!!
ReplyDeleteThis is frenchin fabulous!
ReplyDeleteGreat job! Who said paint brushes are not magic wands?
ReplyDeleteCheryl